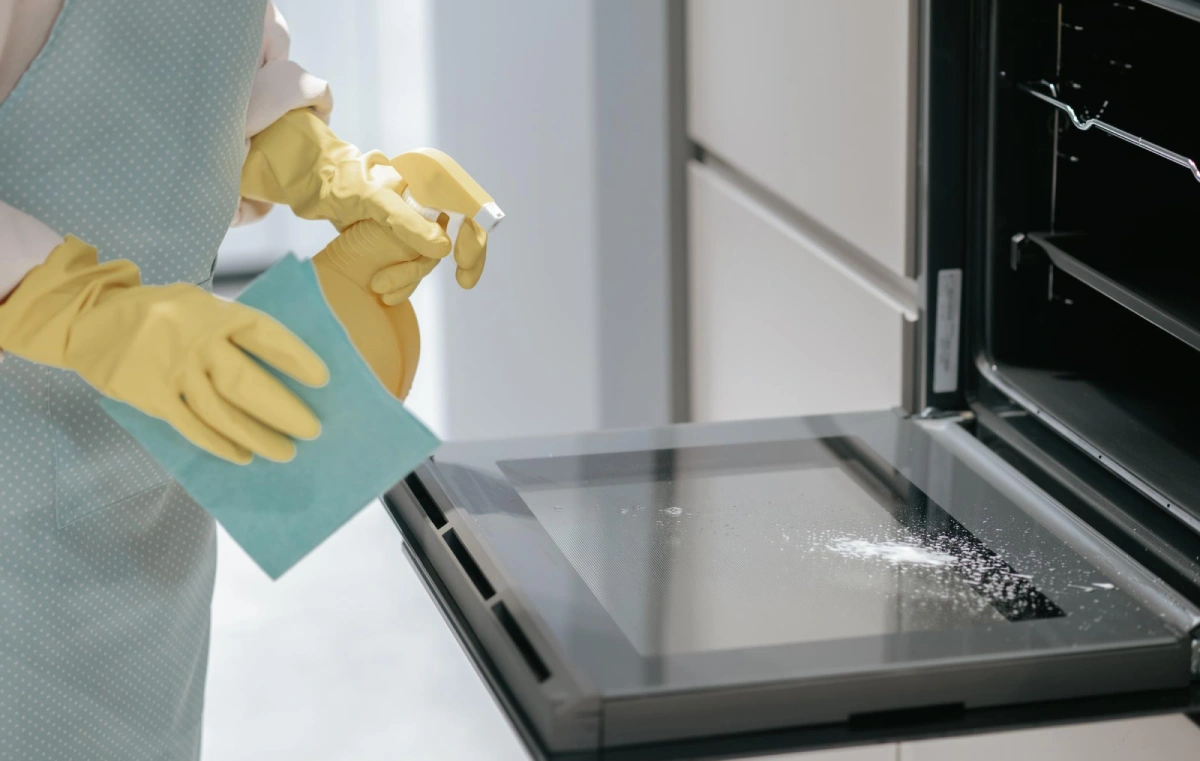
Mix 1 cup distilled white vinegar, 3 cups water, and 3 drops of dish soap in a spray bottle. Spray on greasy surfaces, let it sit 5–15 minutes depending on buildup, then scrub and rinse. For stubborn grease, use baking soda paste with dish soap instead — apply, wait 15–30 minutes, scrub, and rinse clean.
That sticky film on your stovetop. The splatters across your cabinet doors. The buildup caked onto your range hood. Kitchen grease doesn’t announce itself — it just accumulates until one day you’re scrubbing for twenty minutes and getting nowhere.
You’ve probably reached for a commercial degreaser and watched it work. It does work. But the fumes, the residues near food prep surfaces, and the ventilation warnings make it a bad fit for homes with kids, pets, or anyone with respiratory sensitivities.
Here’s what most cleaning articles won’t say directly: you don’t need harsh chemicals to fight kitchen grease. The chemistry is simple — grease is broken down by acids, lifted by soap, and abraded by mild abrasives. All three of those forces are sitting in your pantry right now.
This guide gives you three tested recipes for a DIY natural kitchen degreaser, surface-specific instructions, and honest notes on where natural cleaners work — and where they don’t.
Why Natural Degreasers Work (The Short Version)
Natural cleaning recipes aren’t folk wisdom. There’s real chemistry behind them.
- Acid (vinegar) breaks the molecular bonds holding grease to surfaces
- Alkalinity (baking soda) saponifies fatty residues — essentially turning grease into soap, so it rinses away
- Surfactants (dish soap, castile soap) act as bridges between water and oil, lifting grease into suspension so you can wipe it off
- D-limonene (from citrus peels and citrus essential oils) is a natural solvent that dissolves grease directly
Important note: acid and alkalinity cancel each other out. Vinegar and baking soda mixed together create a fizzing reaction that produces CO₂ and leaves behind salty water. The cleaning power is gone before you spray it. This means you should use them separately, not together in the same bottle.
What You’ll Need
Each ingredient has a specific role. Understanding that helps you choose the right recipe for the job.
Distilled white vinegar — The acid that breaks grease bonds. Use distilled (not regular)water to avoid sediment and staining. Also mildly antimicrobial, though not a disinfectant.
Baking soda (sodium bicarbonate) — Alkaline and mildly abrasive. Most effective when used as a paste directly on a surface, not diluted in a spray bottle. Scrubs grime without scratching.
Castile soap — Plant-based (olive or coconut oil), biodegradable, gentle on delicate surfaces. Good surfactant, lower grease-cutting strength than dish soap.
Liquid dish soap — More concentrated than castile soap. Better for heavy grease. Use sparingly — a few drops are enough.
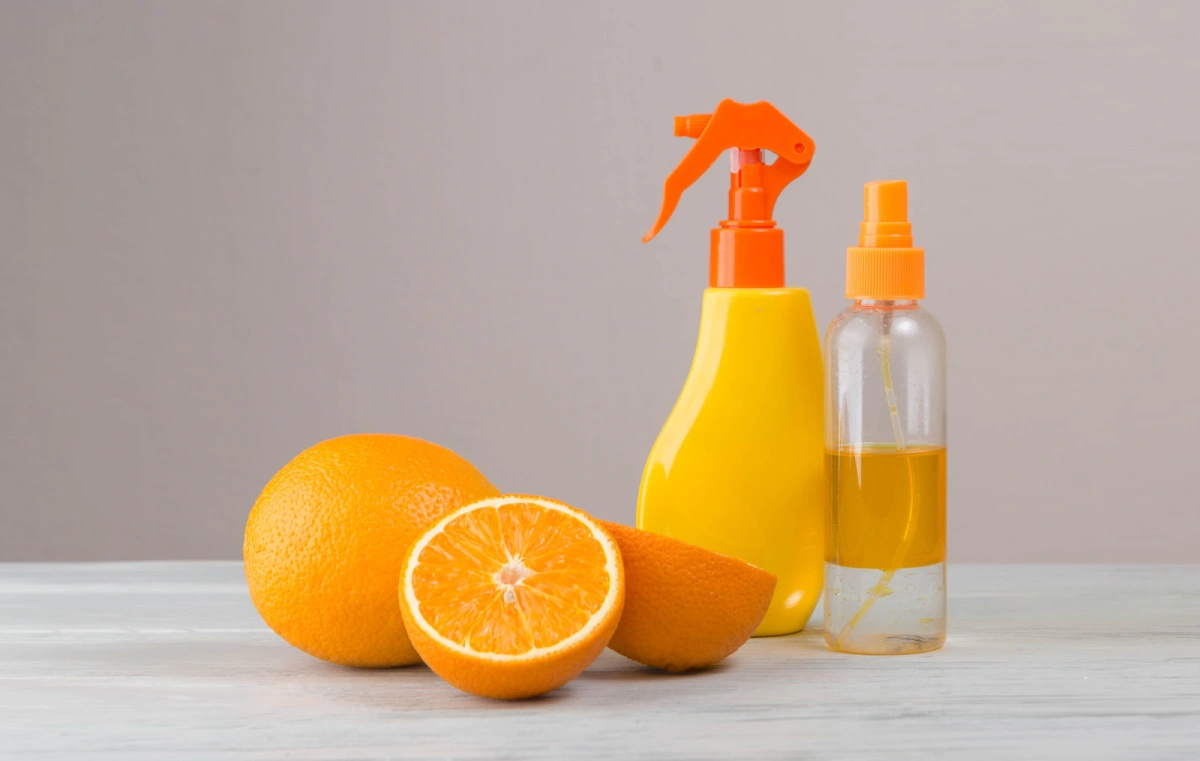
Citrus essential oils or citrus peels — Both contain d-limonene, a verified natural degreaser. Adds scent and boosts cutting power. Optional but useful for heavy jobs.
Skip: Pine sprigs, rosemary, sage. The antimicrobial benefits of herbs dissolved in a diluted spray are negligible. Add them if you enjoy the ritual; don’t count on them for cleaning.
3 Natural Degreaser Recipes
Recipe 1: Everyday Vinegar Spray
Use this for daily maintenance and light grease. Works on stainless steel, glass, ceramic tile, and sealed countertops.
Ingredients:
- 1 cup distilled white vinegar
- 3 cups water
- 3 drops liquid dish soap
- 10 drops lemon essential oil (optional)
Instructions:
- Pour water into the spray bottle first, then add vinegar. Adding soap last prevents foaming during mixing.
- Add essential oil if using. Cap and shake gently.
- Spray directly on greasy surfaces.
- Let it sit 5–10 minutes for light grease; 15 minutes for moderate buildup.
- Scrub with a cloth or sponge in circular motions.
- Rinse with a clean,n damp cloth. Dry immediately to prevent water spots.
Do not use on: Natural stone (marble, limestone, granite), wood cabinets, painted surfaces.
Recipe 2: Heavy-Duty Baking Soda Paste
For thick, stubborn buildup — range hoods, oven exteriors, heavily soiled grout, carbonized stovetop residue. This uses baking soda as an abrasive paste, not mixed with vinegar (which would cancel it out).
Ingredients:
- 3 tablespoons baking soda
- 1 tablespoon liquid dish soap
- Warm water (enough to form a spreadable paste — roughly 1–2 teaspoons)
- 5 drops lemon or orange essential oil (optional)
Instructions:
- Mix baking soda and dish soap in a small bowl. Add water a few drops at a time until you get a thick paste.
- Apply the paste directly to greasy surfaces using a cloth or your fingers.
- Let it sit 10–15 minutes. For really stubborn spots (oven interiors, range hood filters), leave it 30 minutes to an hour.
- Scrub with a cloth, sponge, or old toothbrush. The baking soda acts as a gentle abrasive while the soap lifts the grease.
- Rinse thoroughly with a damp cloth. Baking soda residue can leave a white haze if not fully removed.
- Dry the surface completely.
Note on range hood filters: Remove filters first. Lay them flat in a sink, apply paste, let sit 30 minutes, then scrub and rinse. This is one of the best uses for this recipe.
Do not use on: Polished aluminum or anodized surfaces — baking soda can dull them.
Recipe 3: Gentle Castile Soap Spray
For surfaces that can’t tolerate acid or abrasion: wood cabinets, natural stone, quartzite, and painted finishes.
Ingredients:
- 2 cups warm water
- 2 tablespoons castile soap
- 15 drops of lemon or grapefruit essential oil
Instructions:
- Combine in a spray bottle. Shake before each use — oil and water separate.
- Spray onto a microfiber cloth (not directly on the surface, especially for wood).
- Wipe the surface gently.
- Let it sit 2–3 minutes if grease is visible.
- Wipe clean with a second damp cloth.
- Dry immediately.
Note on hard water: Castile soap reacts with hard water minerals and can leave a soap scum film. If your water is hard, add 1 tablespoon of white vinegar to this recipe — but only if the surface tolerates acid. For wood and stone, use distilled water instead.
The Advanced Option: Citrus-Infused Vinegar Degreaser
If you want a stronger version of Recipe 1 with no extra cost, make a citrus-infused vinegar. The citrus peels release d-limonene into the vinegar over two weeks, creating a more powerful natural solvent.
How to make it:
- Save peels from lemons, oranges, or grapefruits as you use them.
- Fill a glass jar halfway with peels. Pack them in — more peels means a stronger result.
- Cover completely with distilled white vinegar. The peels must be fully submerged to prevent mold.
- Seal the jar. Store in a cool, dark place for two weeks.
- Strain the liquid through a fine mesh strainer or cheesecloth. Discard peels.
- Dilute 1:1 with water in a spray bottle.
Use it anywhere Recipe 1 applies. It works noticeably better on baked-on grease than plain vinegar spray.
Storage note: In warm kitchens, store the infusing jar in the refrigerator to prevent mold growth on exposed peels.
Surface-Specific Guide
Wood Cabinets — Recipe 3 Only
Acid dulls wood finishes over time. The damage is gradual and hard to reverse.
- Never spray directly on wood. Spray onto a cloth first, then wipe.
- Wipe with the grain.
- Dry immediately after cleaning.
- For stubborn spots, apply a small amount of baking soda paste with your finger, let it sit for 5 minutes, then wipe gently with a damp cloth and dry.
- Spot test any new cleaner on an inside corner before using it broadly.
Natural Stone (Marble, Granite, Limestone) — Recipe 3 Only
Acid etches natural stone permanently. Even diluted vinegar used repeatedly will create dull patches that require professional restoration.
- Use only Recipe 3, with castile soap and distilled water if your tap water is hard.
- Spray lightly. Wipe quickly. Don’t let it pool.
- Always spot test first.
Quartzite Countertops
Quartzite is an engineered stone and is more acid-resistant than marble, but not acid-proof. Treat it the same as natural stone to be safe.
Stainless Steel — Recipe 1
Recipe 1 works well on stainless steel and leaves a good finish.
- Wipe in the direction of the metal grain to prevent streaking.
- For extra shine after cleaning, buff with a dry microfiber cloth.
- A drop of mineral oil on the cloth adds a protective layer and reduces future fingerprints.
Ceramic Tile and Backsplash — Any Recipe
Ceramic is durable. All three recipes work here.
- Use an old toothbrush on grout lines.
- Let any recipe sit 10 minutes before scrubbing.
- Rinse well — soap residue in grout lines attracts more grime.
How to Use Your Natural Degreaser (The Steps That Matter)
Having the right recipe is half the job. Applying it correctly is the other half.
Spot test first. Pick an inconspicuous area. Spray, wait 5 minutes, wipe, and check for dulling or discoloration. This takes 30 seconds and saves you from damaging an expensive surface.
Let it sit. This is where most people fail. Spraying and immediately wiping means the ingredients never had time to break the grease’s bond with the surface. Minimum dwell times:
- Light grease: 5 minutes
- Moderate buildup: 10–15 minutes
- Stubborn or carbonized grease: 30 minutes to overnight
Use the right tool. Microfiber cloths for most surfaces. An old toothbrush for grout, crevices, and range hood vents. A non-scratch sponge for stovetop surfaces.
Rinse fully. Leaving soap or vinegar residue on a surface attracts dust and eventually more grease. A second pass with a clean, damp cloth removes residue completely.
Dry immediately. Especially on stone, stainless, and wood. Water left on surfaces causes mineral deposits, streaks, and moisture damage.
When Natural Degreasers Won’t Work
Be honest with yourself here. Natural degreasers handle most household grease well. They don’t handle everything.
- Carbonized, burnt-on residue on oven interiors or cast iron grates often needs a commercial oven cleaner or prolonged baking soda paste treatment with significant scrubbing.g
- Years of accumulated grease on neglected range hoods may require a commercial degreaser for the first pass, then maintenance with natural cleaners going forward.
- Range hood filters clogged with heavy grease respond better to soaking in hot water and dish soap than any spray.y
Natural cleaners work best as a maintenance tool — not a rescue tool for long-neglected surfaces.
How Often to Clean
The more frequently you clean, the less effort each session takes.
- Light cooking (1–3 meals per week): Monthly degreasing is enough
- Regular cooking (daily meals): Every 2–3 weeks on high-splash zones around the stove
- Heavy cooking (daily frying, grilling, or wok cooking): Weekly spot cleaning + monthly deep clean
Ten minutes of weekly maintenance is easier than two hours of monthly scrubbing.
Storage and Shelf Life
- Store spray bottles in a cool, dark cabinet. Light and heat break down the ingredients faster.
- Vinegar-based sprays (Recipes 1 and 3): last 2–3 months comfortably. Vinegar itself is stable for much longer, but soap can degrade.
- Baking soda paste (Recipe 2)Makeke fresh as needed. It doesn’t store well as a pre-mixed paste.
- Signs a spray has gone bad: cloudiness, unusual smell, visible mold. Discard and make a new batch — it costs almost nothing.
- Use plastic spray bottles, not metal. Vinegar corrodes metal sprayer components over time.
Safety
Natural ingredients are safer than commercial degreasers — but handle them with basic care.
- Never mix your natural cleaners with commercial cleaners. Mixing vinegar with bleach produces chlorine gas. Mixing bleach with ammonia (found in some commercial glass cleaners) produces chloramine gas. Both are dangerous.
- Ventilate. Open a window when cleaning, even with natural solutions.
- Wear gloves if you have sensitive skin — undiluted vinegar and essential oils can irritate.
- Label your bottles with the recipe name and date. It takes ten seconds and prevents confusion.
- Keep out of reach of children. Natural doesn’t mean safe to drink.
FAQs
Can vinegar damage my countertops or cabinets? Yes, on the wrong surfaces. Vinegar’s acidity breaks down the protective finish on wood cabinets over time and permanently etches natural stone (marble, limestone, granite). Use Recipe 3 on both. On sealed granite and ceramic tile, diluted vinegar is fine.
Why does my spray foam when I mix vinegar and baking soda? That fizzing is an acid-base reaction releasing CO₂, and it means the two ingredients are canceling each other out. The cleaning power is leaving, not building. Use them separately: vinegar in a spray, baking soda as a paste on its own.
How long should I leave the cleaner on before scrubbing? Light grease: 5 minutes. Moderate buildup: 10–15 minutes. Heavy or burnt grease: 30 minutes to overnight. Dwell time is the most underused variable in home cleaning.
Will these work on really bad grease? For most household grease, yes — especially Recipe 2 with adequate dwell time. For carbonized or years-old buildup, natural cleaners may not be enough for the first pass. Start with a commercial degreaser to break through the worst of it, then switch to natural cleaners for ongoing maintenance.
What’s the difference between castile soap and dish soap? Castile soap is plant-based and gentler — better for delicate surfaces and people with skin sensitivities. Dish soap is more concentrated and cuts grease faster. For heavy grease on durable surfaces, dish soap wins. For wood, stone, or painted finishes, castile soap is the safer choice.
Can I mix these with other cleaners? Never mix with bleach or ammonia-based products. Only use the ingredients listed in each recipe.
Start With One Batch
Pick Recipe 1 if you’re unsure. Mix it in five minutes. Spray your stovetop, let it sit for ten minutes, scrub, rinse, and dry. You’ll notice the difference immediately — and you’ll have spent about fifty cents.
Once it works for you, make Recipe 3 for your cabinets and Recipe 2 paste for the range hood. Three recipes, three purposes, all from ingredients you already have.
Your kitchen will be cleaner. The fumes will be gone. The cost will drop. That’s not a promise — it’s just chemistry.